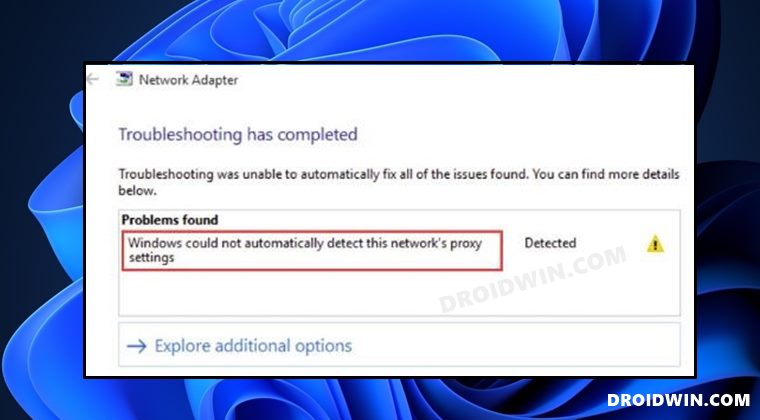
So what could lead to this bug? Well, there could be quite a few reasons for the same, including the likes of incorrect network configuration, firewall or proxy server blocking the connection, issues with the network setup, outdated network drivers, third-party DNS causing a conflict with the server, among others. Fortunately, you could easily address most of these concerns which in turn would resolve the underlying issue as well. So without further ado, let’s check out the methods to fix the “Windows could not automatically detect this network’s proxy settings” error.
Fix Windows could not automatically detect this network’s proxy settings
Do note that there’s no universal fix as such. You will have to try out each of the below-mentioned workarounds and then see which one works best in your favor. So with that in mind, let’s get started.
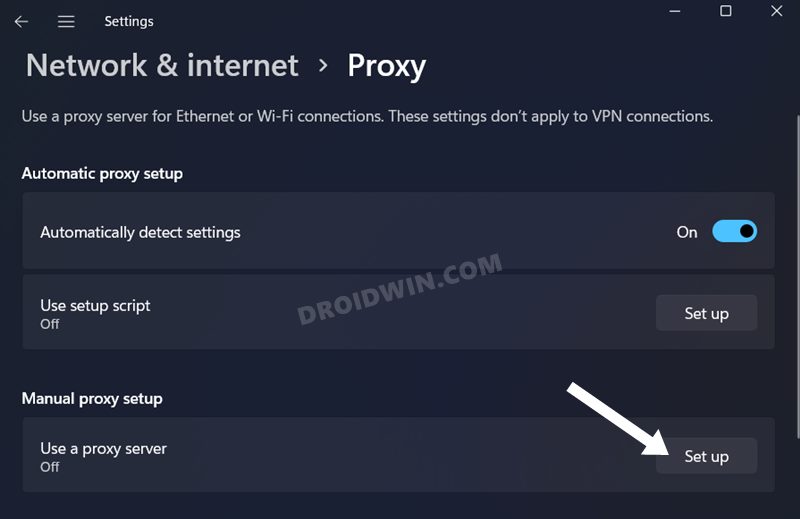
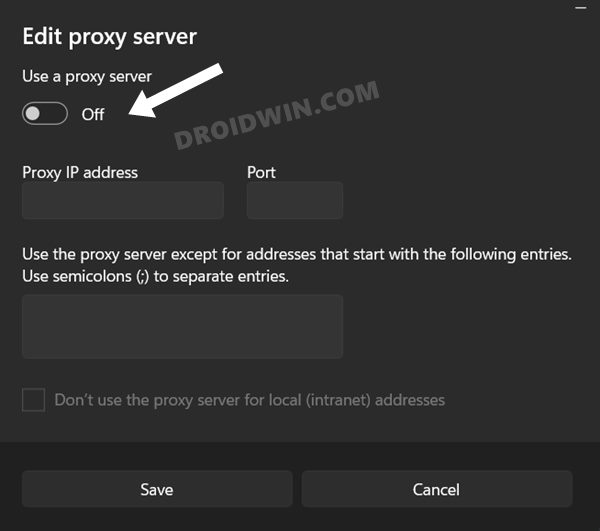
FIX 1: Disable Proxy
Apart from hiding your actual IP Address and giving you the ability to access geo-restricted contents, a proxy server also acts as a firewall and web filter. However, in some instances, the data packets might not be able to get past these many network layers and instead are lost midway during the exchange process. So to avoid that from happening, you should consider disabling the proxy on your PC. Here’s how it could be done:
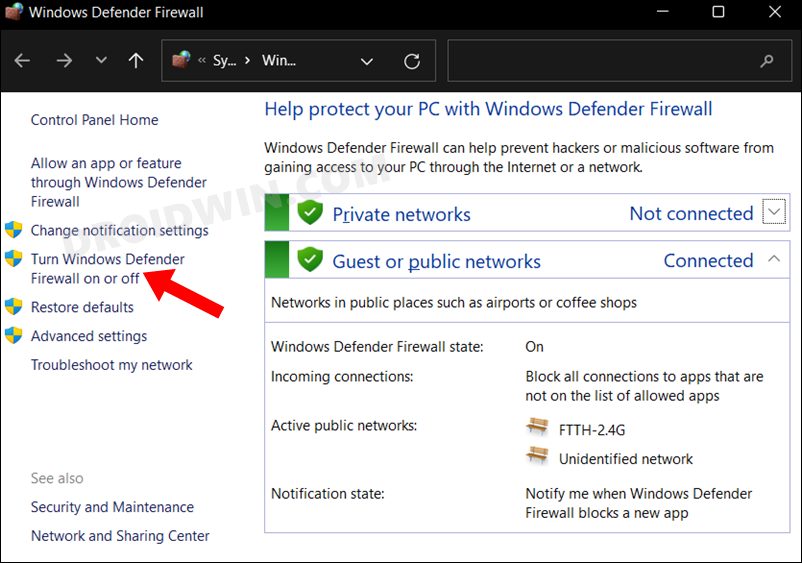
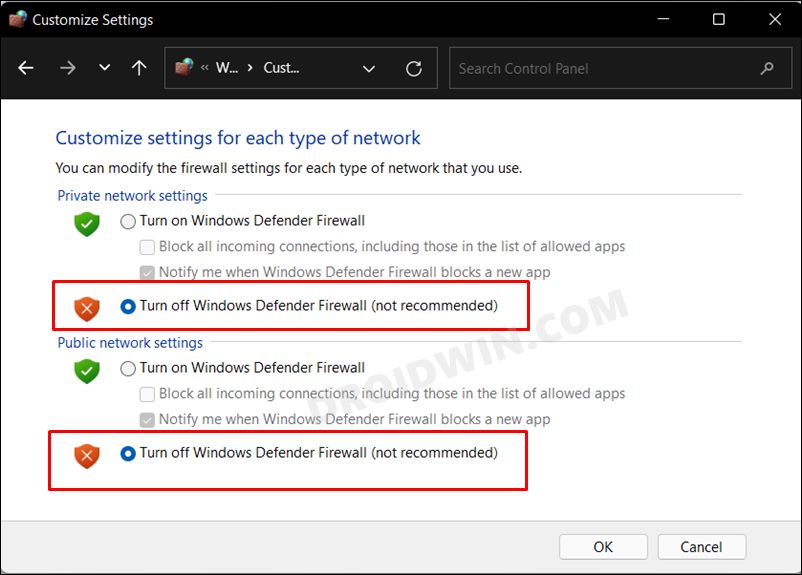
FIX 2: Disable Firewall
Sometimes, the built-in Firewall might act a little bit over-protective and tends to block the data exchanges even though the data packets might be coming from a legitimate source. So you should consider temporarily disabling the Firewall, using the below-given instructions:
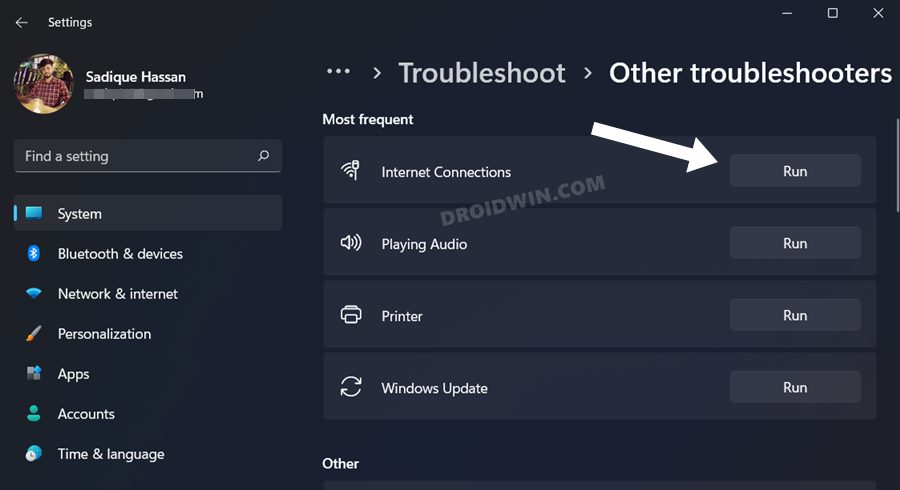
FIX 3: Run Network Adapter Troubleshooter
Windows comes with quite a few troubleshooter apps, and one of them focuses specifically on network-related issues.So let’s put it to the test right away and check out the results:
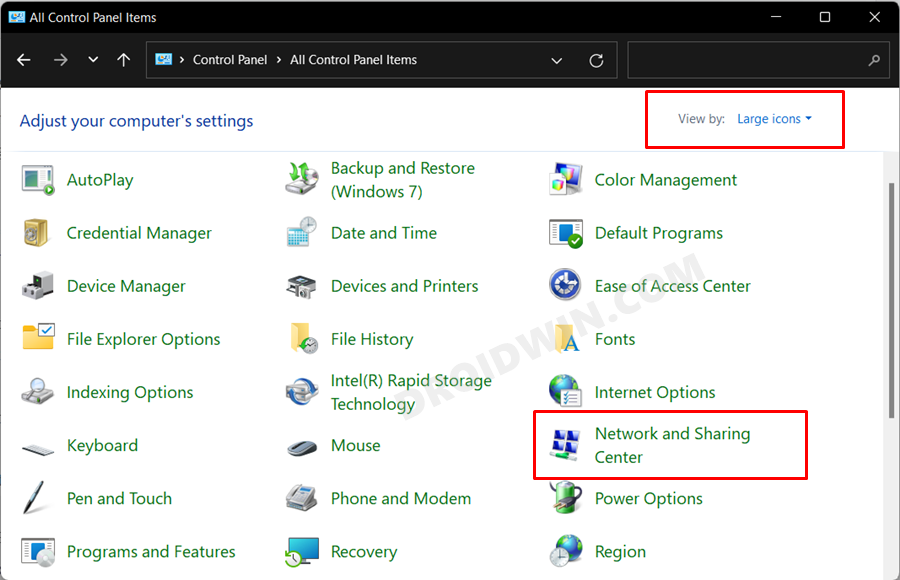
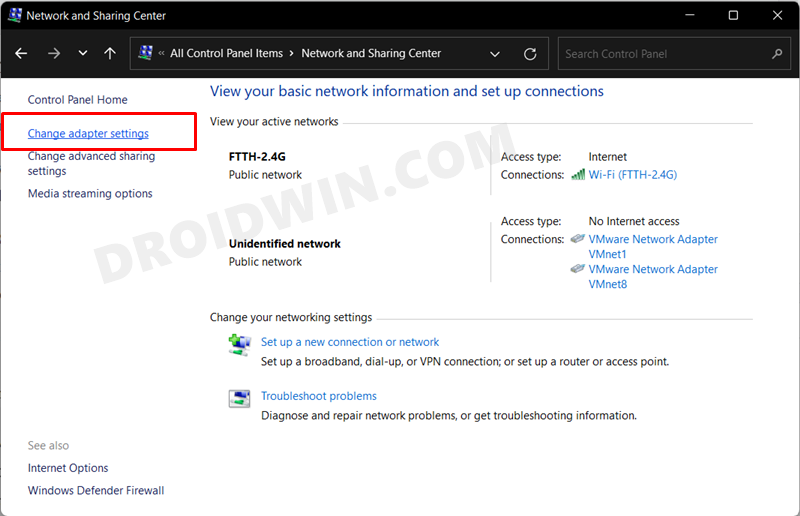
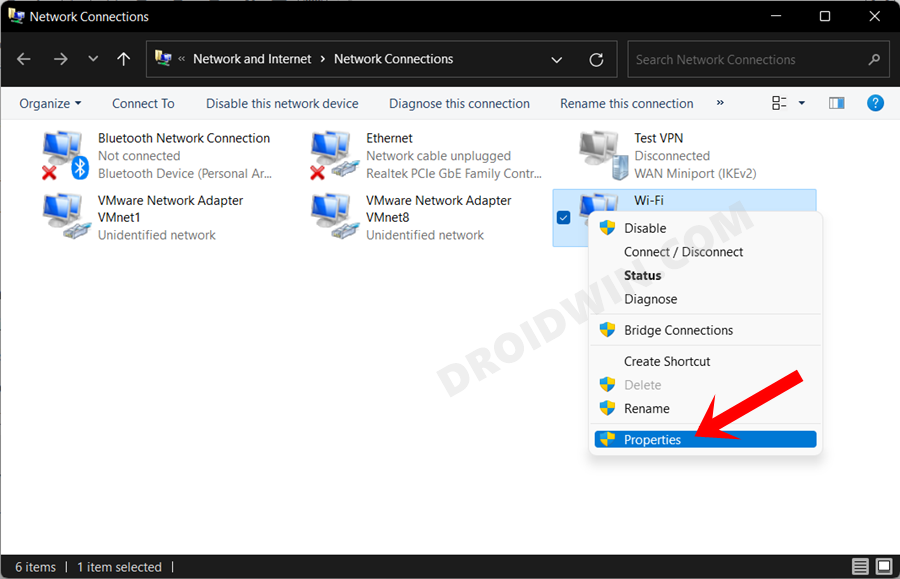
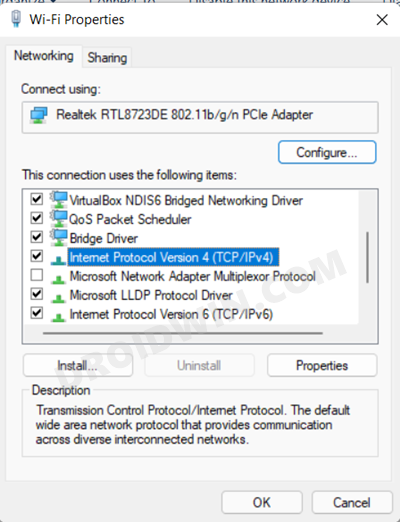
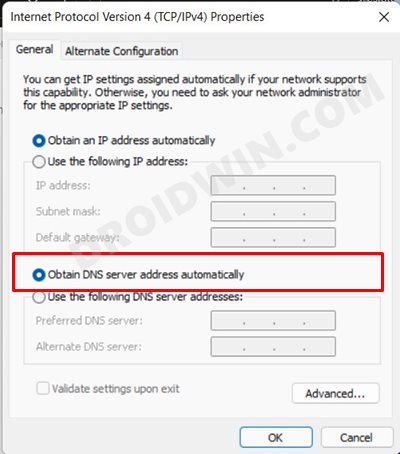
FIX 4: Use Default DNS Server Address
Domain Name Server is like a phonebook that stores the IP Address for the websites. Web browsers don’t understand the URL in plain text format, rather they need the website’s associated IP Address, and for that, they look it up in the DNS record book. In this regard, many users might use a third-party DNS such as the one from Google, OpenDNS, or Cloudflare. However, in some instances, they might create an issue or two when it comes to the file syncing process. Therefore, you should consider reverting to the stock DNS, using the instructions given below:
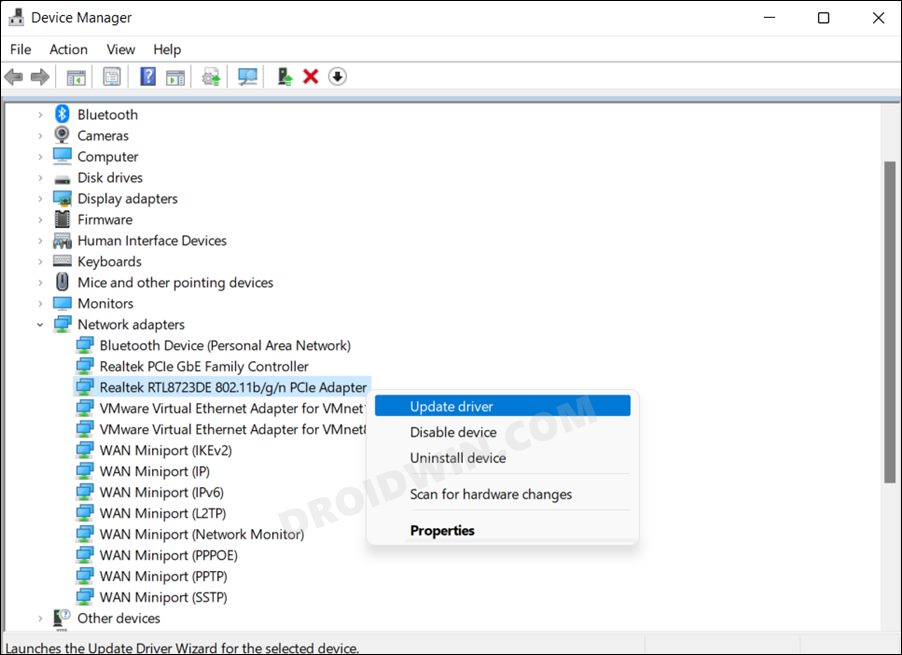
FIX 5: Update Network Drivers
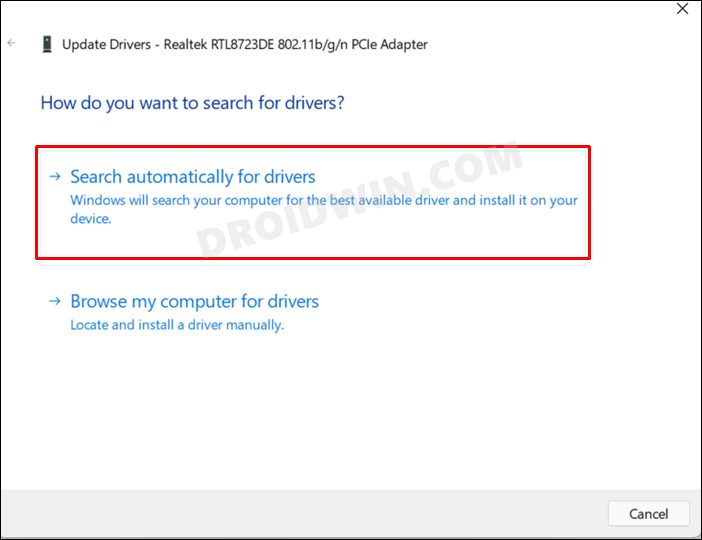
Using old or outdated network drivers could result in quite a few issues, including the one that we are currently dealing with. Therefore, it is recommended to update these drivers to their latest version, using the instructions given below:
FIX 6: Reset Network Configuration
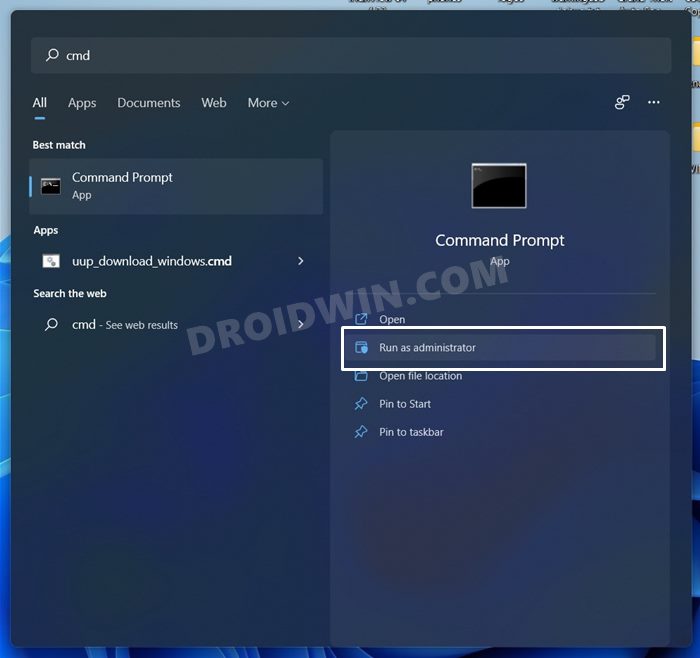
If the network settings or its configuration have got corrupted then it might conflict with your wireless adapter. Therefore, you should consider resetting the setting to its factory default state. These include resetting the Windows Socket and IP Address, flashing the current DNS, and then renewing its new settings. So proceed with the below instructions to try it out:
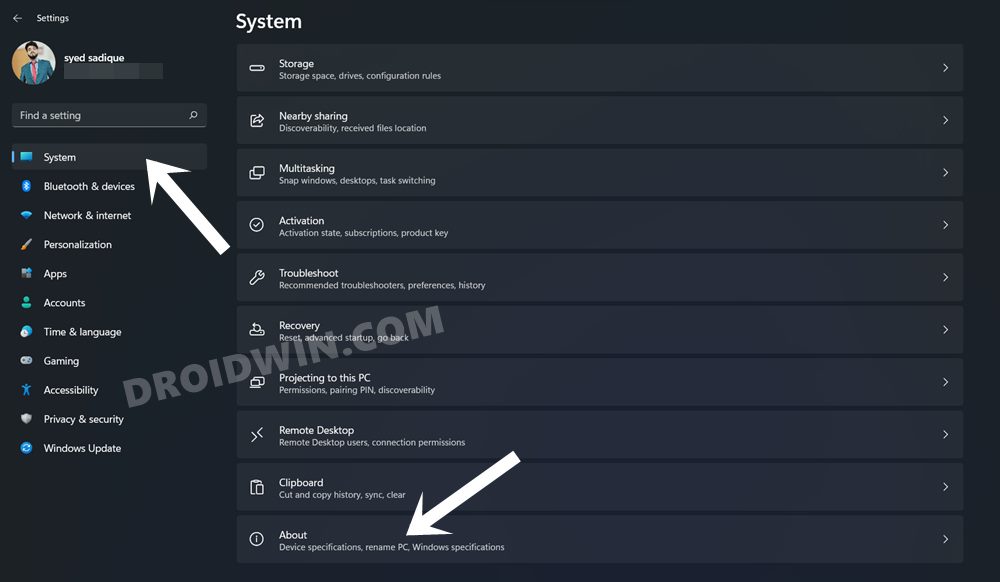
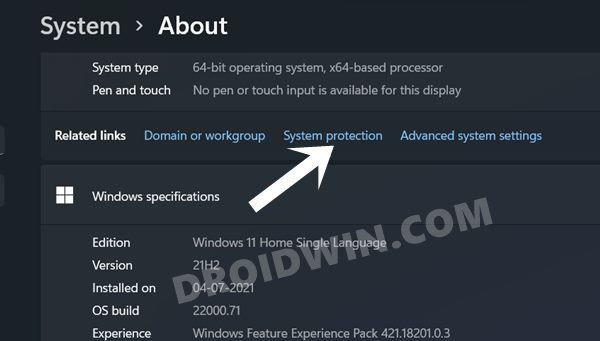
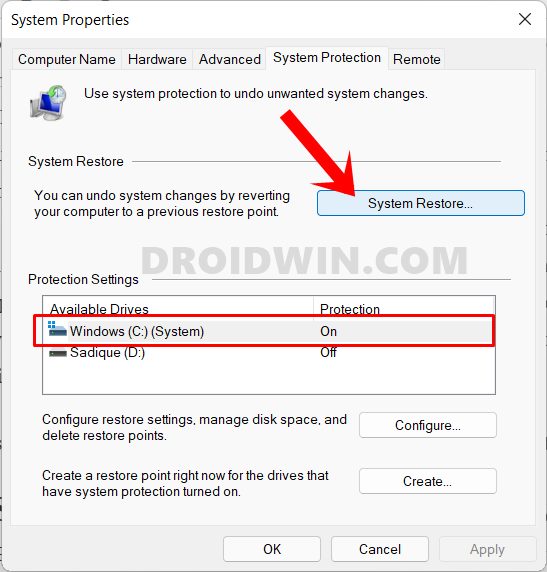
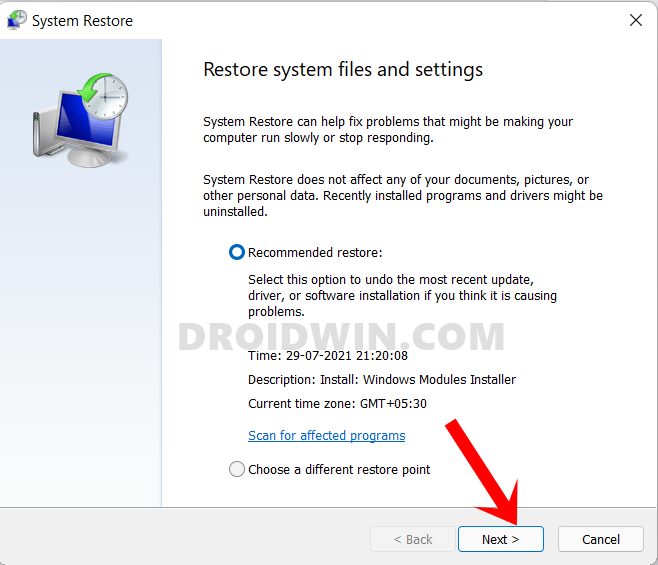
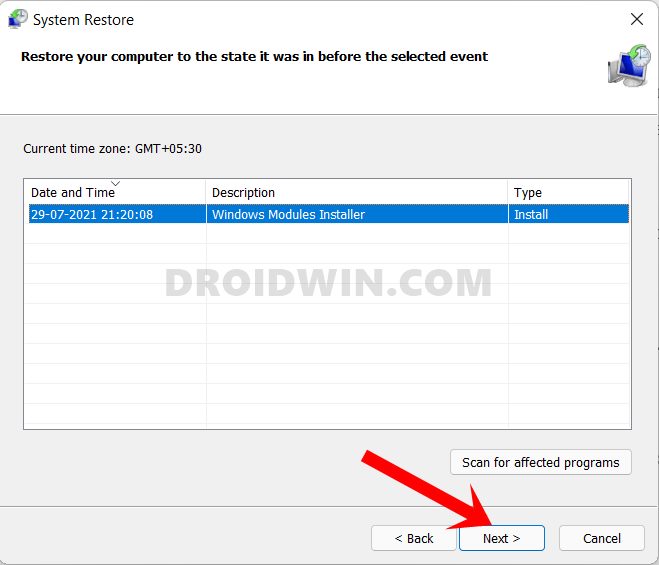
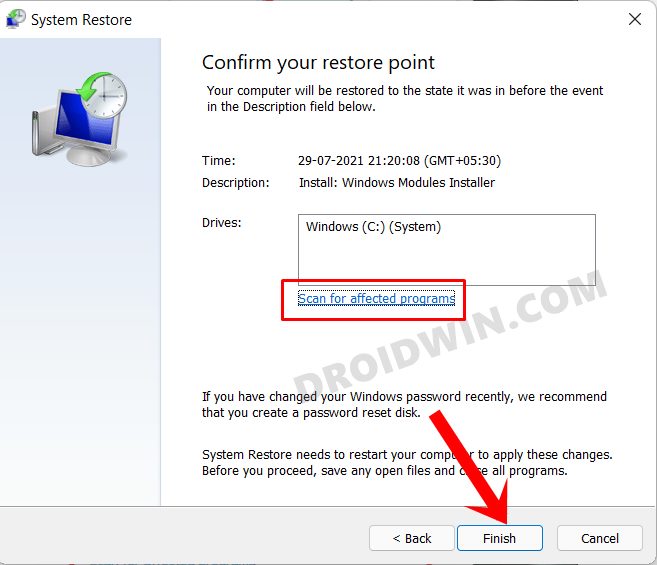
FIX 7: Use a System Restore Point
So with this, we round off the guide on how you could fix the “Windows could not automatically detect this network’s proxy settings” error. We have listed seven different methods for the same. Do let us know in the comments which one spelled out success for you. Likewise, all your queries are welcomed in the comments section below.
How to Fix Internet or WiFi Not Working in Windows 11How to Change DNS Server Address in Windows 11VPN Not Working in Windows 11: How to FixHow to Enable or Disable Network Adapters in Windows 11
About Chief Editor
