So to create a layer of protection around your credentials, it is important to have this feature enabled. With that said, in some testing and debugging environments, users usually prefer to have this feature temporarily disabled. So keeping all these points in mind, this guide will make you aware of numerous methods to enable and disable Local Security Authority Protection on your Windows 11 PC. Follow along.
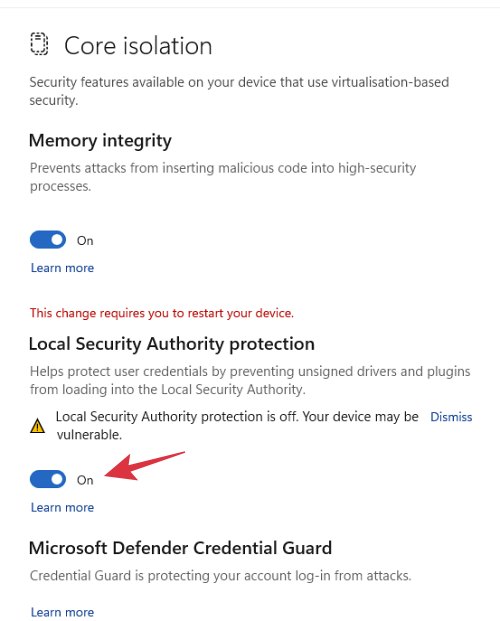
Enable/Disable Local Security Authority Protection via Settings Menu
Enable/Disable Local Security Authority Protection via Registry File [Without UEFI Lock]
Enable/Disable Local Security Authority Protection via Registry File [Via UEFI Lock]
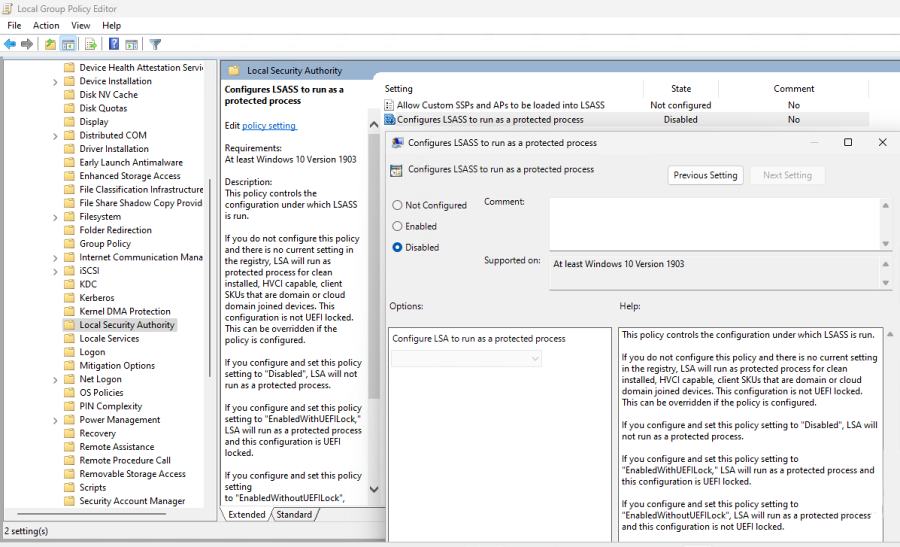
Enable/Disable Local Security Authority Protection via Group Policy Editor
That’s it. These were the various methods that should help you enable/disable Local Security Authority Protection on your Windows 11 PC. If you have any queries concerning the aforementioned steps, do let us know in the comments. We will get back to you with a solution at the earliest.
Windows 11 Games Crashing/BSOD due to FASR: How to FixHow to automatically install Preview Updates in Windows 11Add Permanently Delete to Windows 11 Context MenuBrightness Slider not working/missing in Windows 11 [Fixed]
About Chief Editor