Apart from that, you might also come across a few performance-related issues. And to address the elephant in the room- yes the redesigned OS has more shades of Oppo’s ColorOS than the OG OxygenOS. So combine all these factors and the reason for the rollback is there for everyone to see. If you also echo this thought, then this guide shall help you out. In this tutorial, we will show you the detailed steps to downgrade your OnePlus Nord CE from Android 12 [OxygenOS 12] to Android 11 [OxygenOS 11]. Both the methods given below will wipe off all the data from your device, so please take a backup beforehand. Droidwin and its members wouldn’t be held responsible in case of a thermonuclear war, your alarm doesn’t wake you up, or if anything happens to your device and data by performing the below steps.
Downgrade OnePlus Nord CE from Android 12 to Android 11 via Local Install
This is the official method of carrying out the downgrade process. In this, we will be installing the Android 11 rollback package via the Local Install method. This rollback firmware has been officially provided by OnePlus itself.
STEP 1: Download OnePlus Nord CE Android 12 to Android 11 Rollback Firmware
You may grab hold of the downgrade package as well as the rollback APK for your device from below
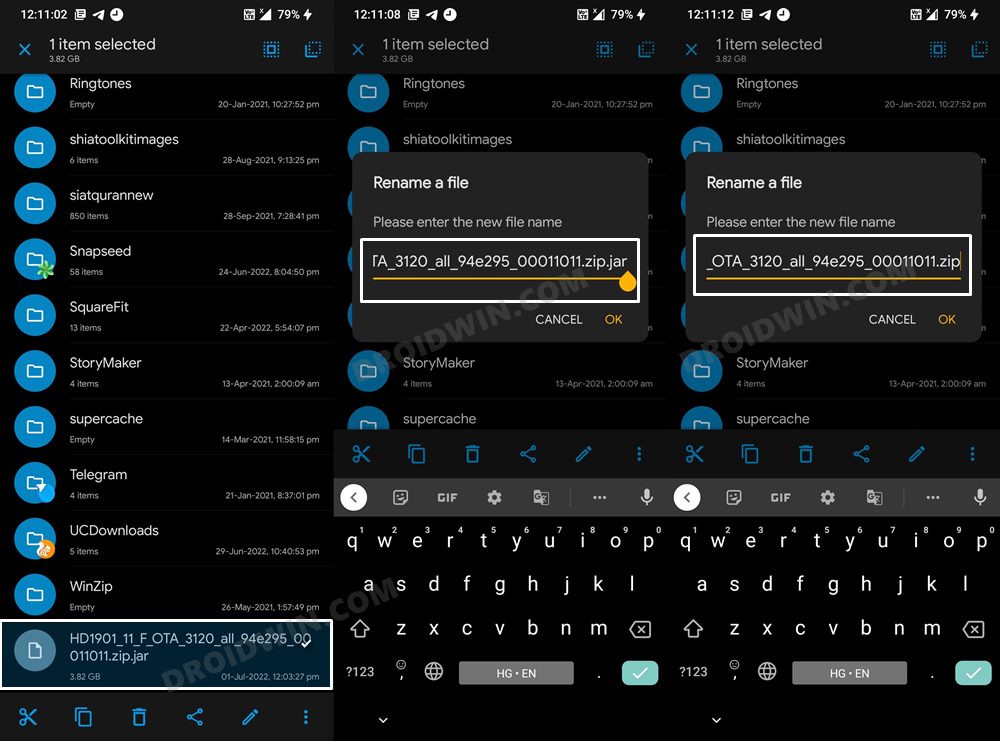
STEP 2: Transfer Files to Device
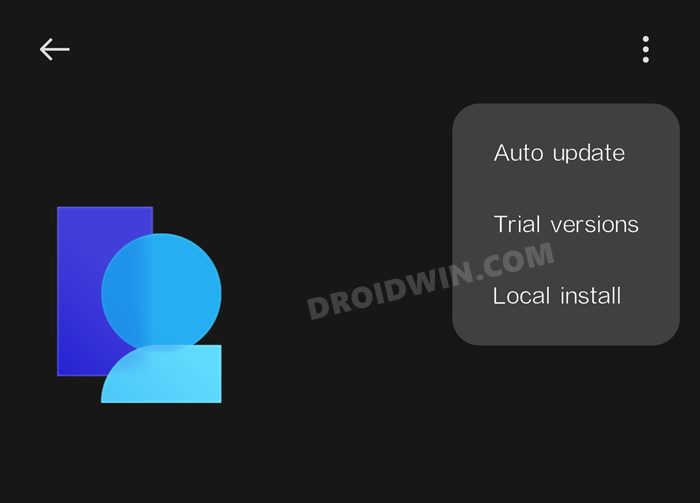
STEP 3: Downgrade OnePlus Nord CE from Android 12 to Android 11 via Local Install
Downgrade OnePlus Nord CE from Android 12 to Android 11 via MSM Download Tool
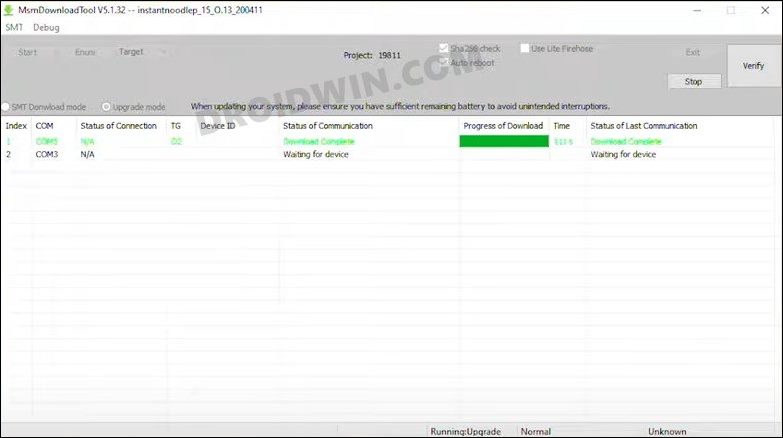
MSM Download Tool is the software used by OnePlus service center employees to unbrick the devices. But due to some great work by the developers at XDA, this tool is now available for everyone to use. Using this tool, we will be flashing the Android 11 OFP firmware to your device. While it does not require an unlocked bootloader, still the process is quite technical and could result in a few issues if not done correctly. With that in mind, let’s get started.
STEP 1: Install Android SDK
First and foremost, you will have to install the Android SDK Platform Tools on your PC. This is the official ADB and Fastboot binary provided by Google and is the only recommended one. So download it and then extract it to any convenient location on your PC. Doing so will give you the platform-tools folder, which will be used throughout this guide.
STEP 2: Install Qualcomm USB Drivers
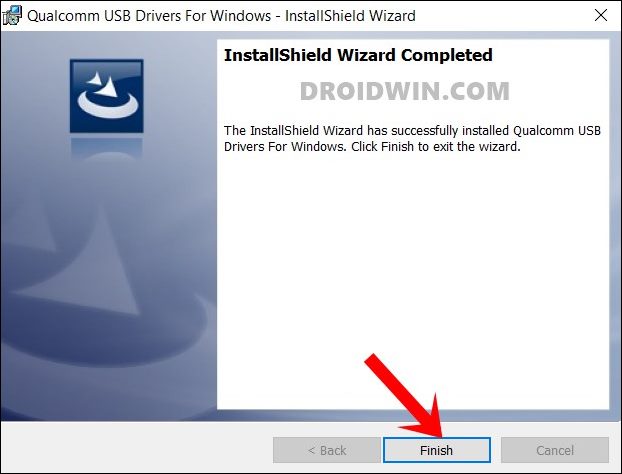
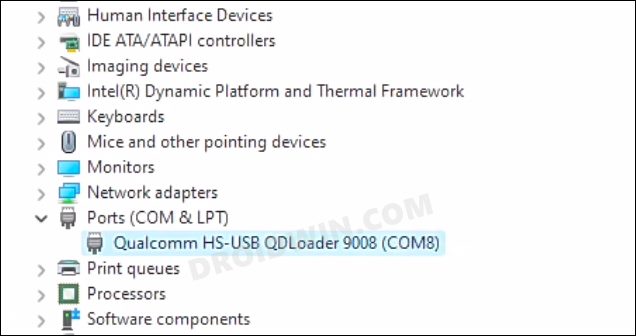
Next up, you will have to download and install the Qualcomm USB Drivers. This is needed so that your PC (and the MSM Tool) is able to identify the connected device in EDL Mode. So refer to our guide on Qualcomm HS-USB QDLoader 9008 Drivers: Download & Install
STEP 3: Download MSM Download Tool
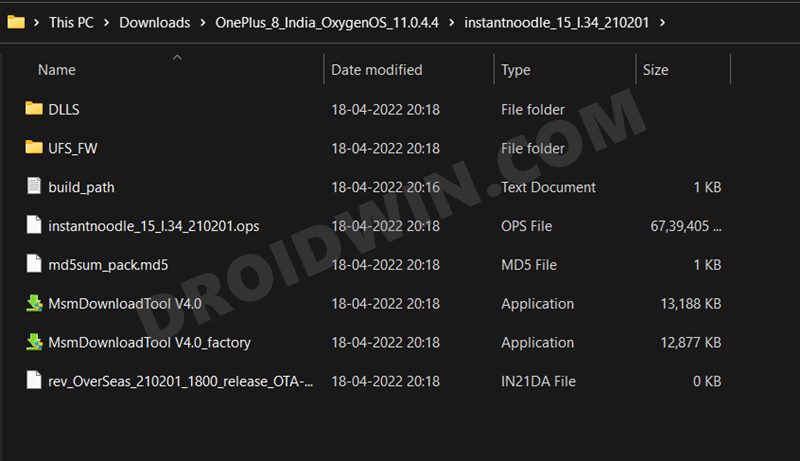
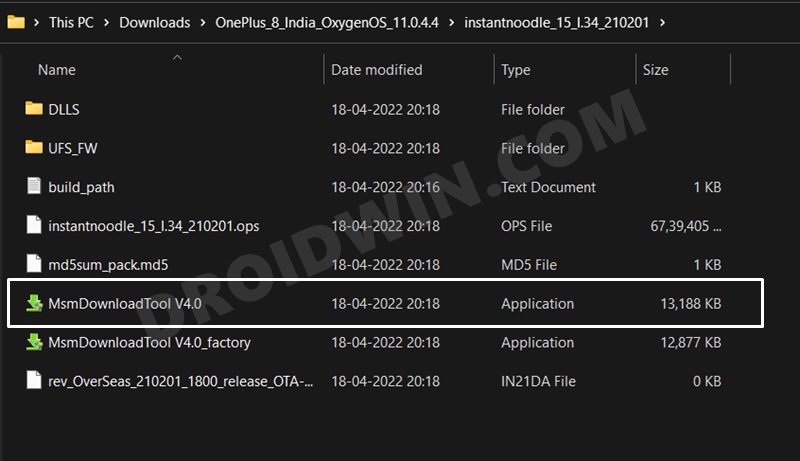
Next up, get hold of the MSM Download Tool corresponding to your OnePlus device from this post [make sure to download the Android 11 firmware]. Once downloaded, extract it to any convenient location on your PC. This will give you the Tool as well as the OPS Firmware for your device.
STEP 4: Boot OnePlus to EDL Mode
you will now have to boot your OnePlus device to Emergency download mode. For that, please refer to our comprehensive tutorial on How to Boot any OnePlus Device to EDL Mode. Or you could also refer to the below shorter instructions. If your device is still being shown as QHUSB_BULK, then reverify driver installation, use USB 2.0 Port, or try using a different USB cable. Any one of these tweaks could fix the EDL connection error.
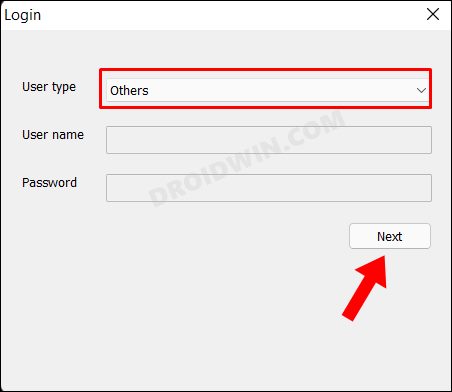
STEP 5: Flash Android 11 on OnePlus Nord CE via MSM Download Tool
So these were the two different methods to downgrade your OnePlus Nord CE from Android 12 to Android 11. If you have any queries concerning the aforementioned steps, do let us know in the comments. We will get back to you with a solution at the earliest.
How to Unlock Bootloader on OnePlus Nord CEHow to Root OnePlus Nord CE 5G via Magisk Patched Boot.imgRestore OnePlus Nord CE 5G to Stock via Fastboot Commands and Unbrick itHow to Root OnePlus Nord CE 2 via Magisk and OFP Firmware
About Chief Editor
